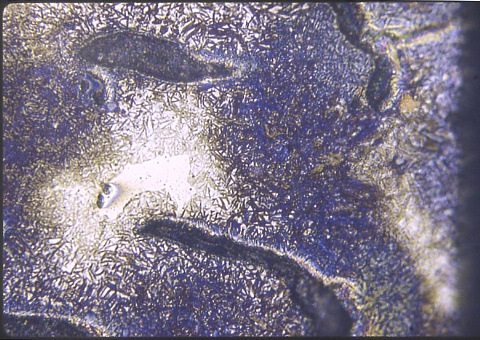
This cast iron truck flywheel was locally overheated by
friction against the clutch disk. The photomicrograph was made at
500X with the usual Nital etch. It eventually broke due to the resulting heat checking. Heat checking is the formation of a pattern of deep, craze like cracks resulting from repeated plastic deformation during radial and tangential expansion brought on by the heating and cooling cycles. The dimensional strains occur both by thermal expansion & contraction and also by transformational volume changes. This image was made from an area closest to the heated surface and shows martensite, retained austenite, graphite flakes, and a small island of phosphide eutectic. |
|
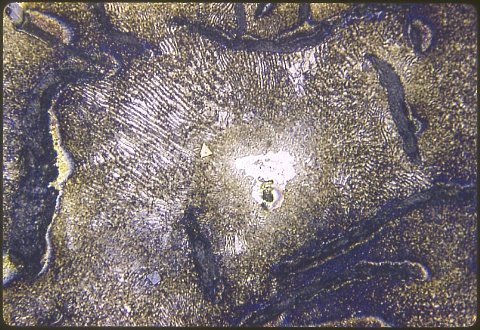
The frame at left, also made at 500X, shows partially
spheroidized pearlite in another region, heated only up to the
eutectoid temperature. Here there is another patch of phosphide eutectic as well as a bonus - a small golden triangle of titanium nitride. Continue to the Summary for this lesson.
|
SUMMARY: A piece of cast
iron can have quite a variety of properties and microstructures,
depending on its alloy content, original solidification and cooling
history, and subsequent heat treatments. These microstructures
are made all the more complex by the presence of internal sources of
carbon ... the eutectic graphite or cementite particles. The
local internal carbon gradients across the majority microconstituent
(caused by rapid heating or cooling) can either fall or rise going away
from these carbon sources, depending on whether the initial heating was
rapid and intense, or, alternatively, the final cooling rate was
intermediate. A wide range of mechanical properties results from
the different shapes, plasticities, and strengths of the the
microconstiuents. Continue to the
next lesson in Cast
Irons, High Alloy Steels, and
Superalloys.
Return to the main Introduction.
|