"Projects" at georgesbasement.com

Oufitting a Sebastian treadle lathe, concluded
Part E. Making the essential second slide that completes the improvements necessary for efficient screwcutting.
Cutting the blank from the Farmall C drawbar
Squaring the sides of the blank
Surfacing the top & bottom of the blank
   The blank for the base of the new compound came from a piece of the leftover drawbar from the Farmall C tractor that I converted to a wide-front B to use as a snowplow. I reasoned that it ought to be very tough steel !

   It turned out to be easy to machine and even easier to hand scrape than cast iron.
   In order to get the dovetail angle right, I set the tool slide of my South Bend shaper directly from the dovetail of the original Sebastian tool rest by clamping a steel bar against the side of the dovetail and indicating along the bar with the tool slide of the shaper.
  The shaper made it relatively easy to cut the dovetail of the compound rest, once I had worked out the method of measuring the original dovetail as described in Part D; of course, I left room for the necessary gib.
   The compound's gib had to have complementary angles on the top & bottom in order to function efficiently. Here is my method of getting those angles by clamping the gib directly into the compound base for machining in the shaper.
  The semi-finished compound base is shown below as fitted onto the dovetail of the carriage. I scraped both the tops and bottoms of the dovetail so that the compound base now fits both places simultaneously. That was pure luck ...
Setting the dovetail angle directly from the original tool rest
Cutting the dovetails of the compound base
Clamping the compund gib in the compound base
The compond base gibbed onto the crossfeed dovetail

There's more - there has to be a second slide that's rotationally adjustable.
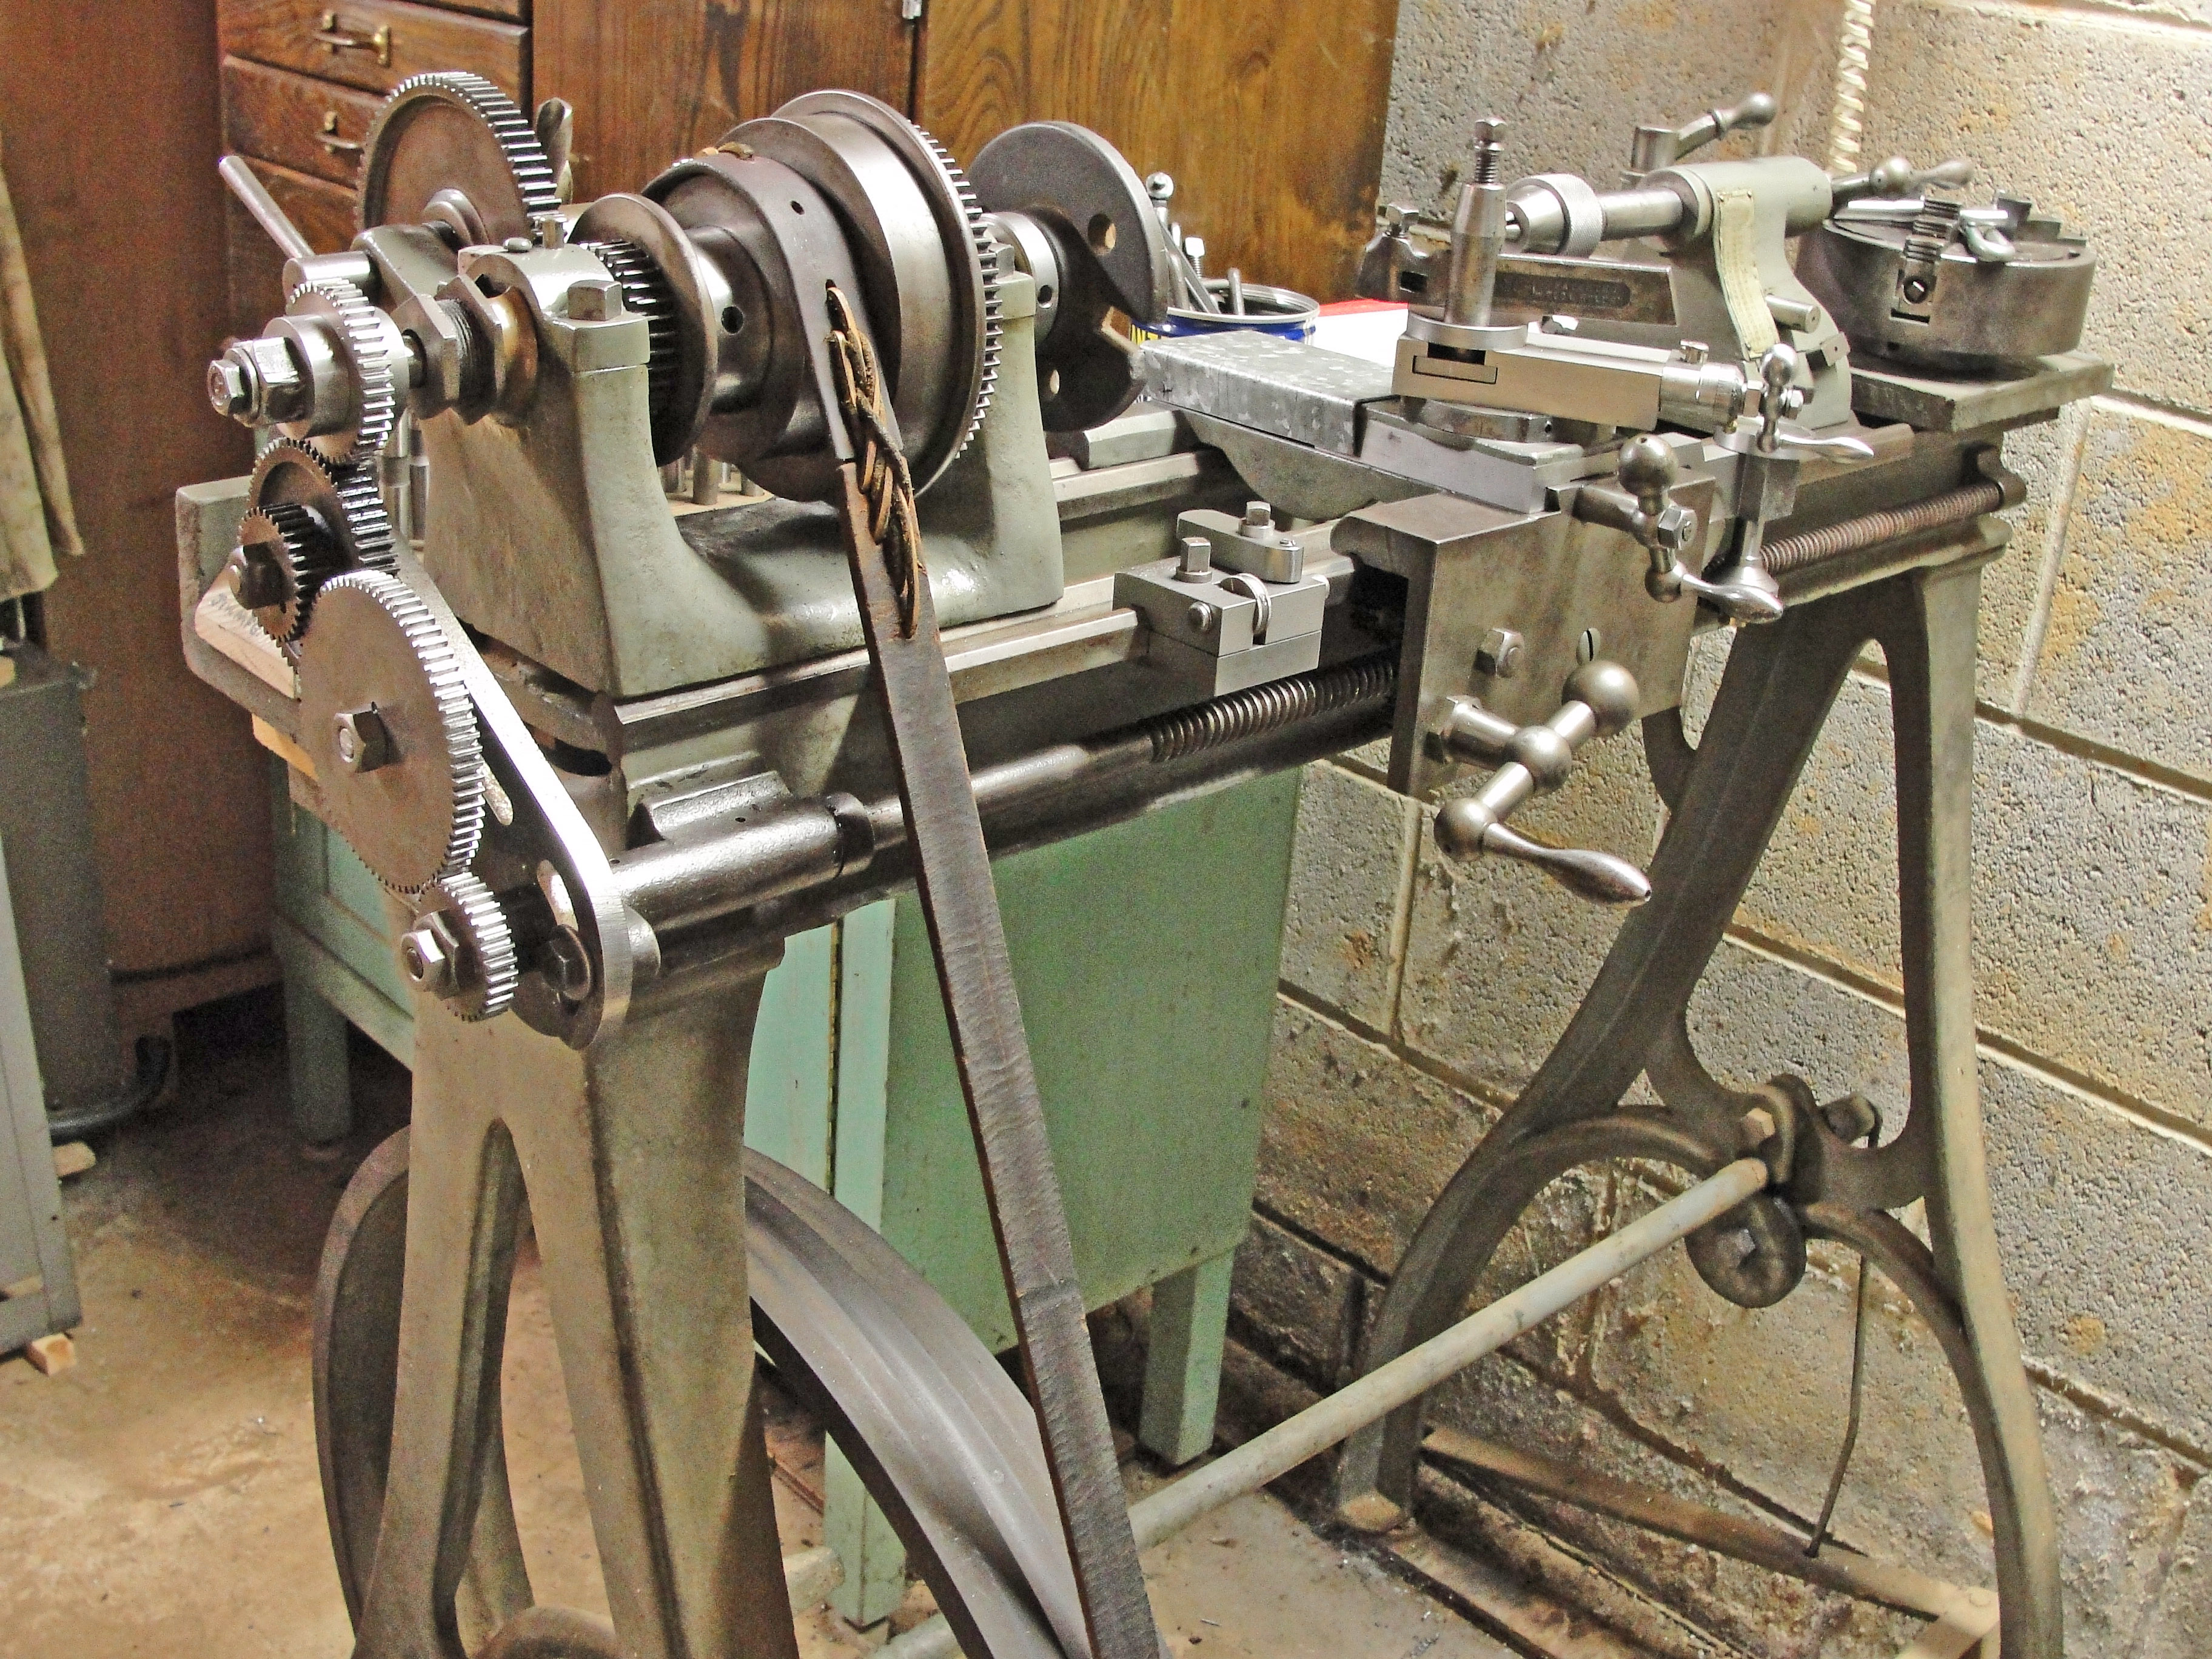
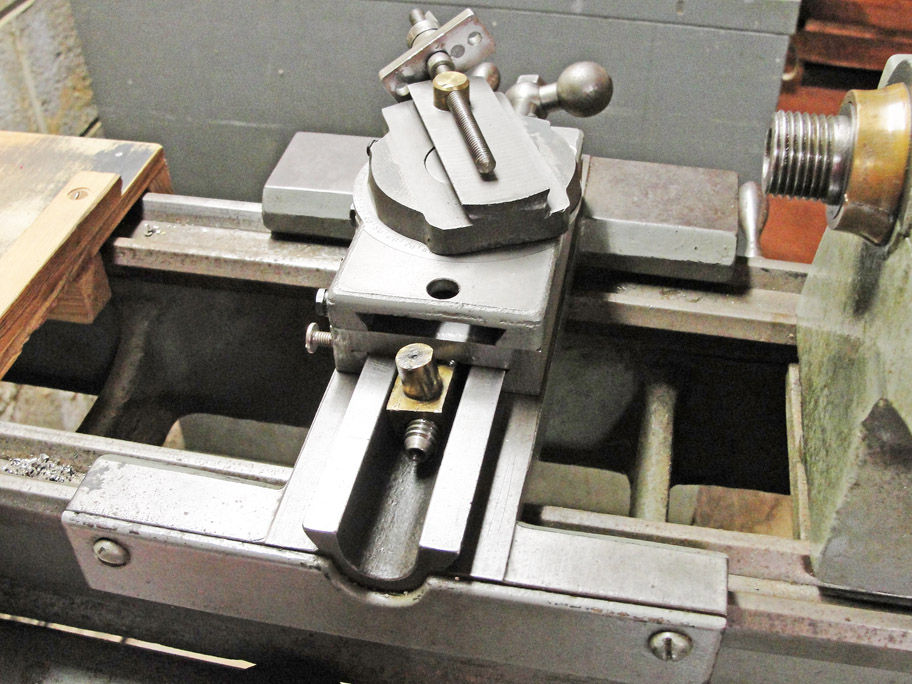
   In order to obtain the 180 degree angular markings without having to index them on my Atlas milling machine, I bought parts from an Atlas six inch lathe in order to cannibalize them. The parts are shown below in their trial fitting on the partly finished Sebastian compound base.  I did not use the end fitting of the Atlas top slide.
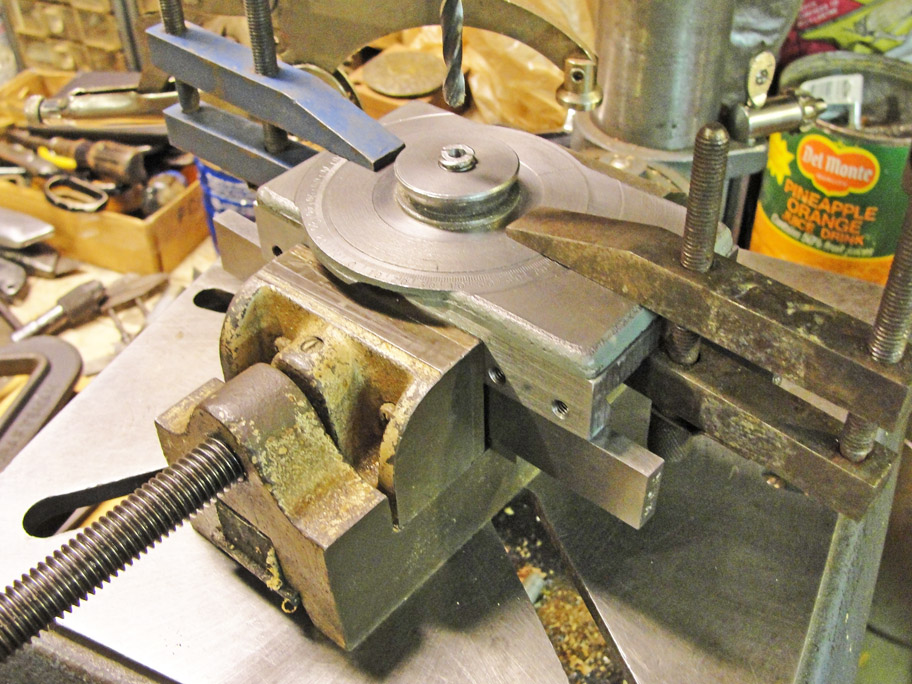
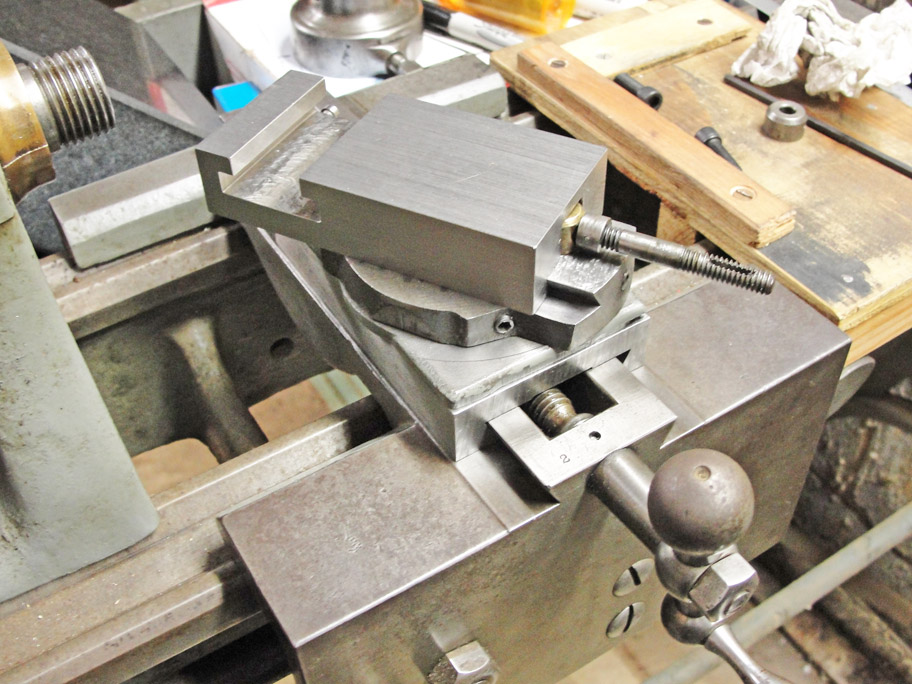
  As shown below, the hole for the crossfeed nut of the Atlas compound base nearly lines up perfectly with the Sebastian lathe's crossfeed nut.  I subsequently machined off the dovetails of the Atlas compound base in order to laminate its rotational markings onto the new compound base of the Sebastian lathe.
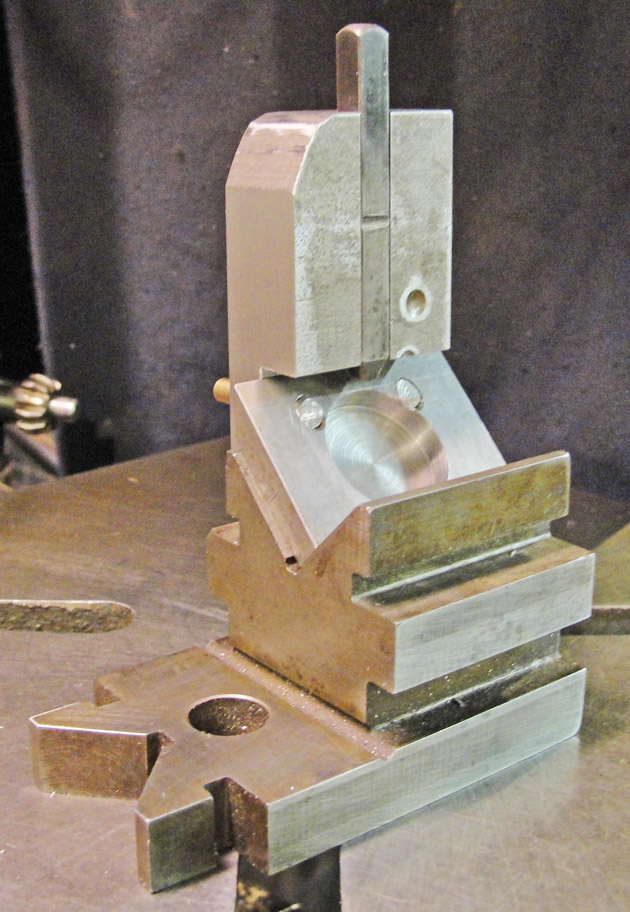
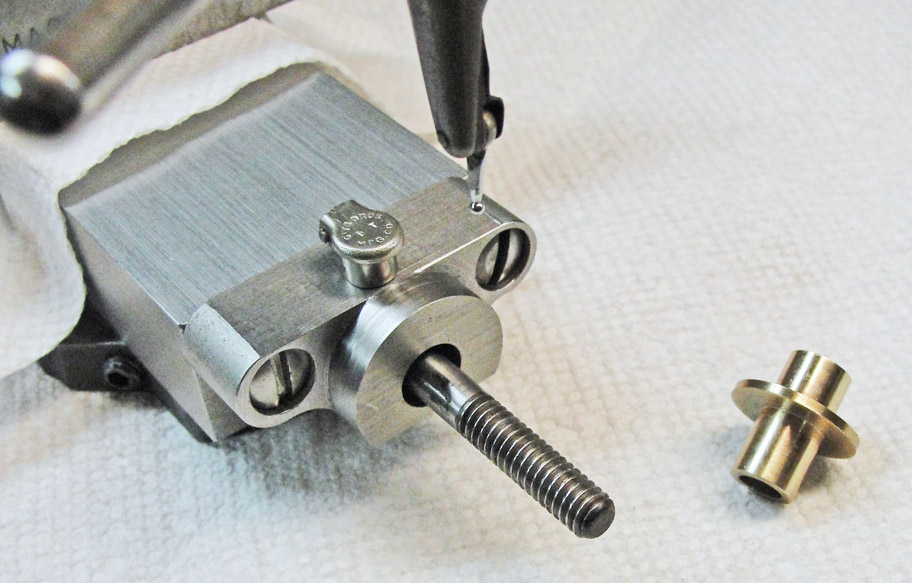
  Here I have faced off the bottom of the Atlas compund base and tapped its center post for an assembly screw. I am drilling the compound base to accommodate that assembly screw by using the guide hole in the dummy screw to keep the pilot drill centered. Later, I added a couple of flathead machine screws and a taper pin.
Compound base and top slide base from a six inch Atlas lathe
Trial fitting the the Atlas parts to the Sabastian carriage
Spotting the Atlas assembly holes onto the new compound base
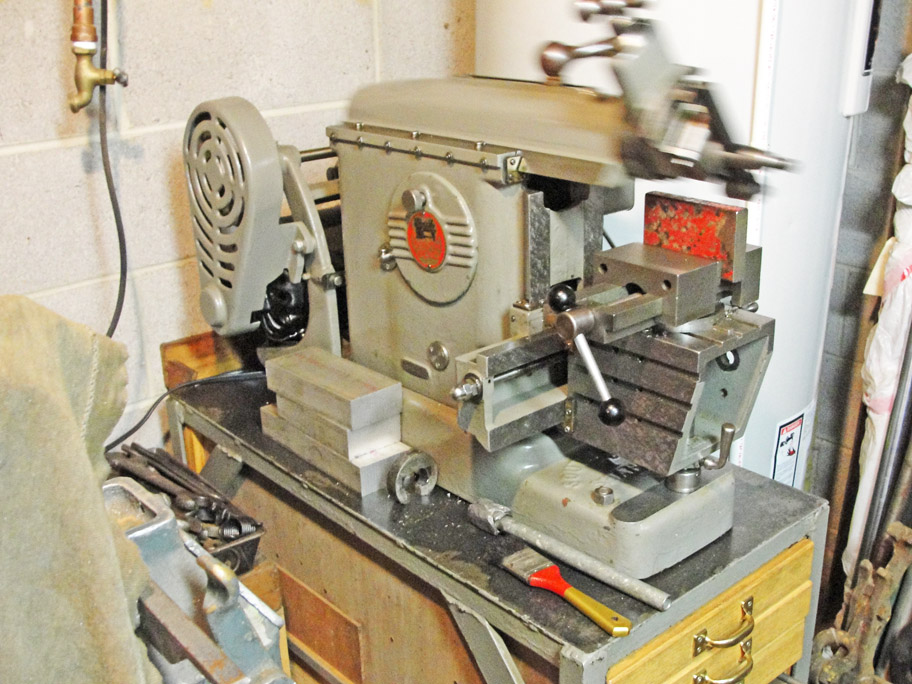
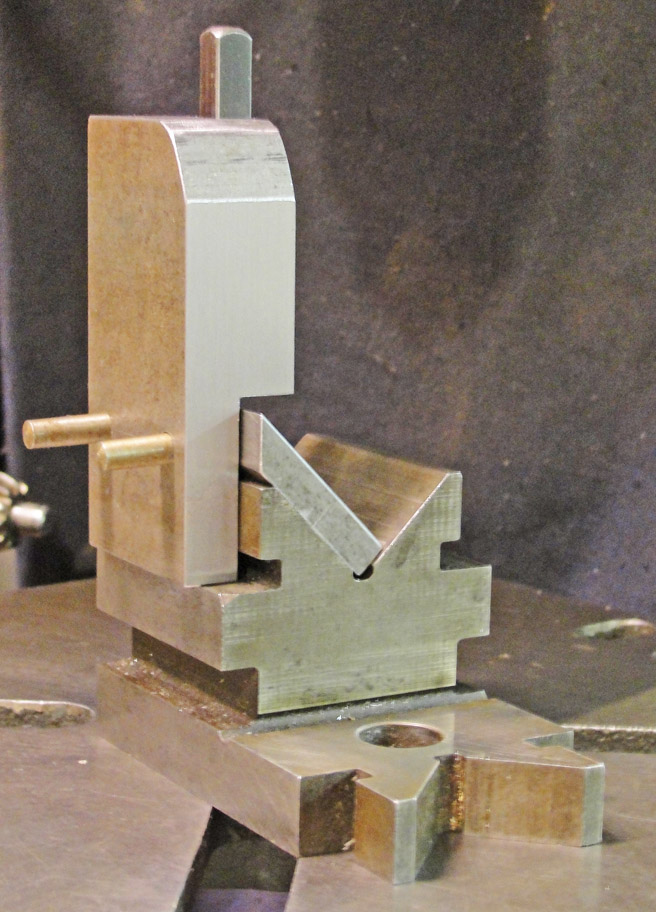
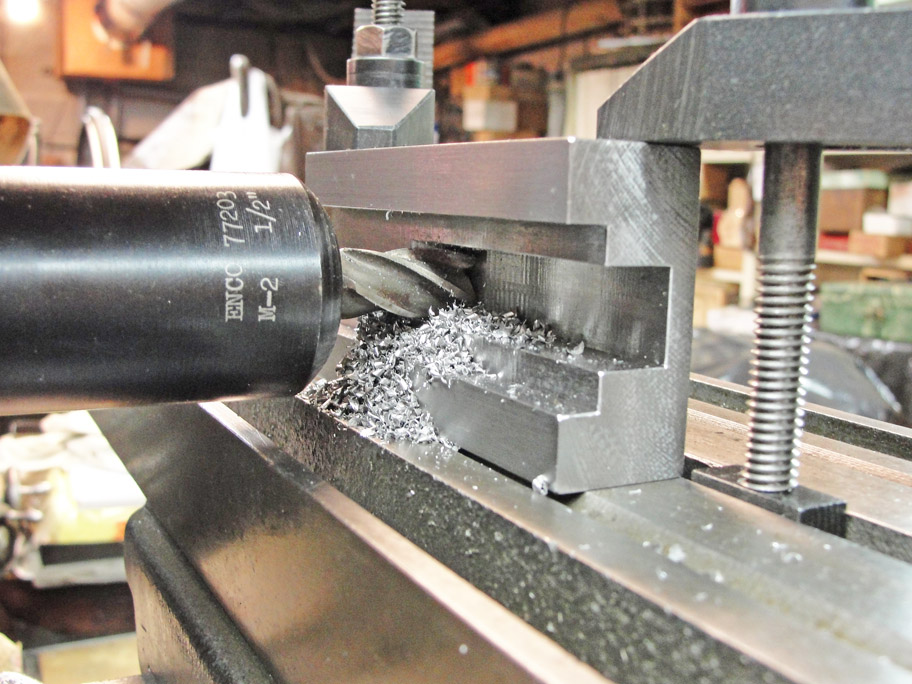
   As luck would have it, I already owned a tee-slot cutter that I now found absolutely necessary to machine the top slide to match my spare South Bend lantern style tool post. It's a close fit.
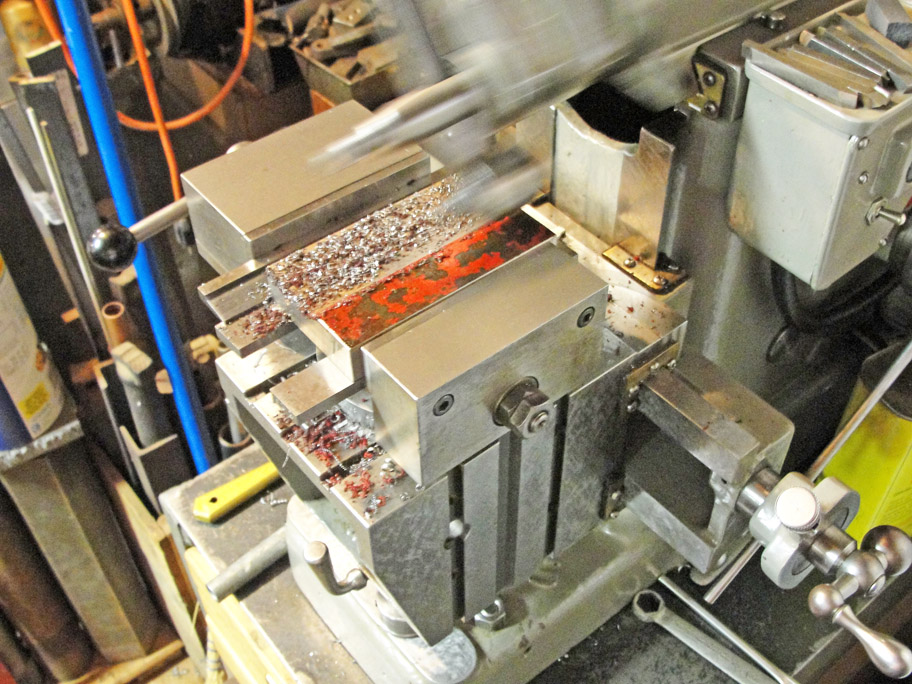
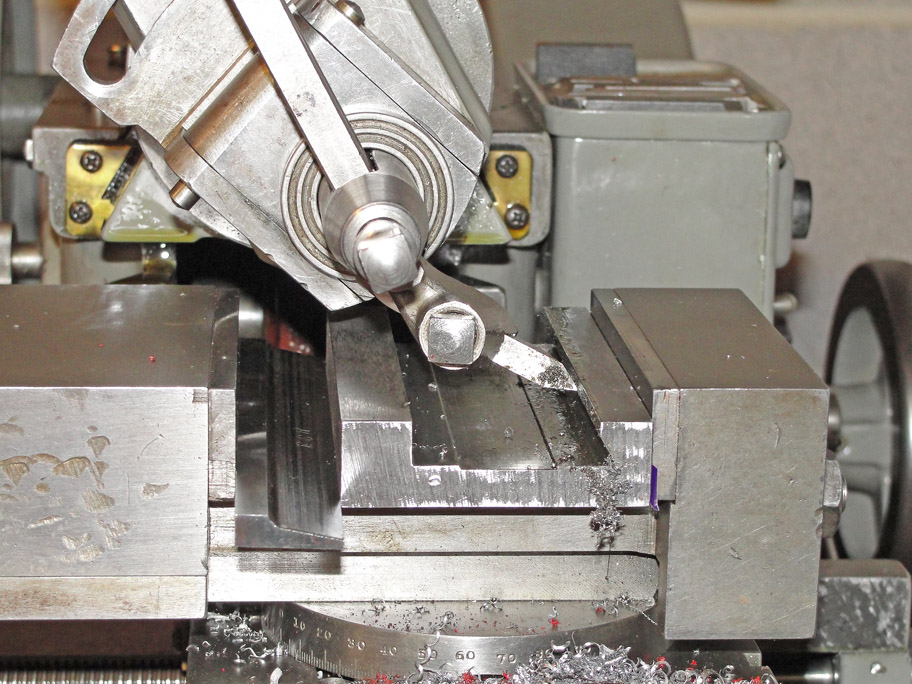
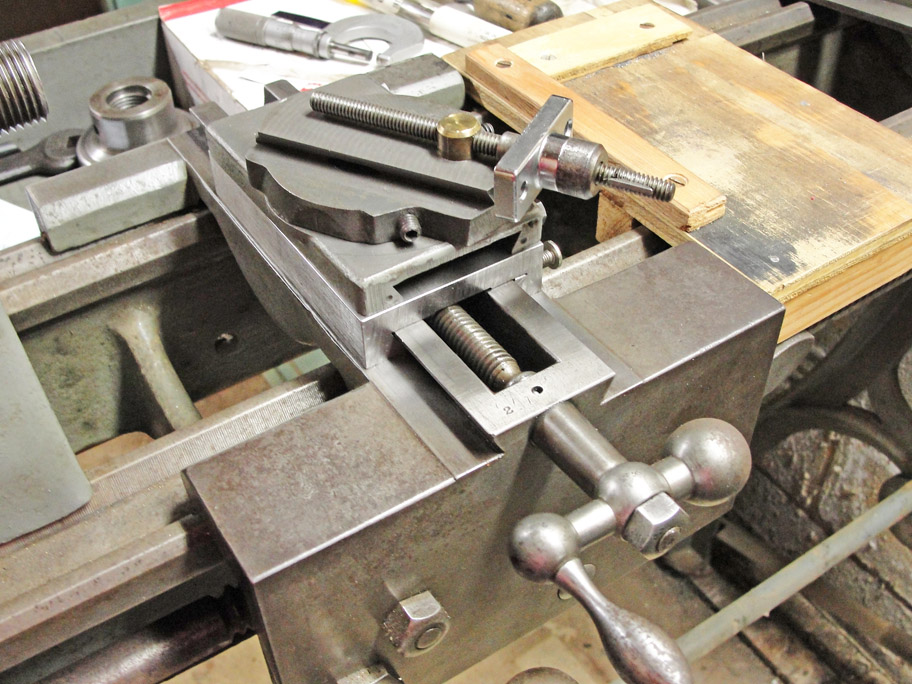
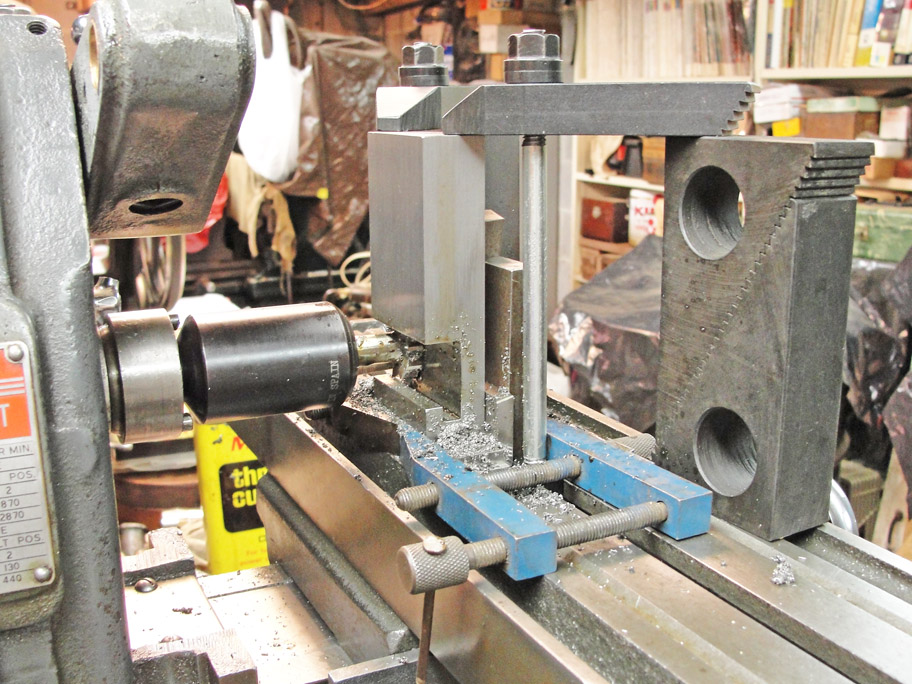
   There had to be a long slot in the top slide's bottom to clear the top slide's feed nut.  The dovetails are roughed out here but not yet finished. I used the same shaper settings as for the compound base.
   Here you can see how closely that top slide feed nut fits. The frame for the top slide feed dial and screw had not yet been installed at this stage.
Machining the Tee slot to match South Bend lantern style tool post
Machining the clearance slot for the feed nut
Trial fitting the top slide to its base
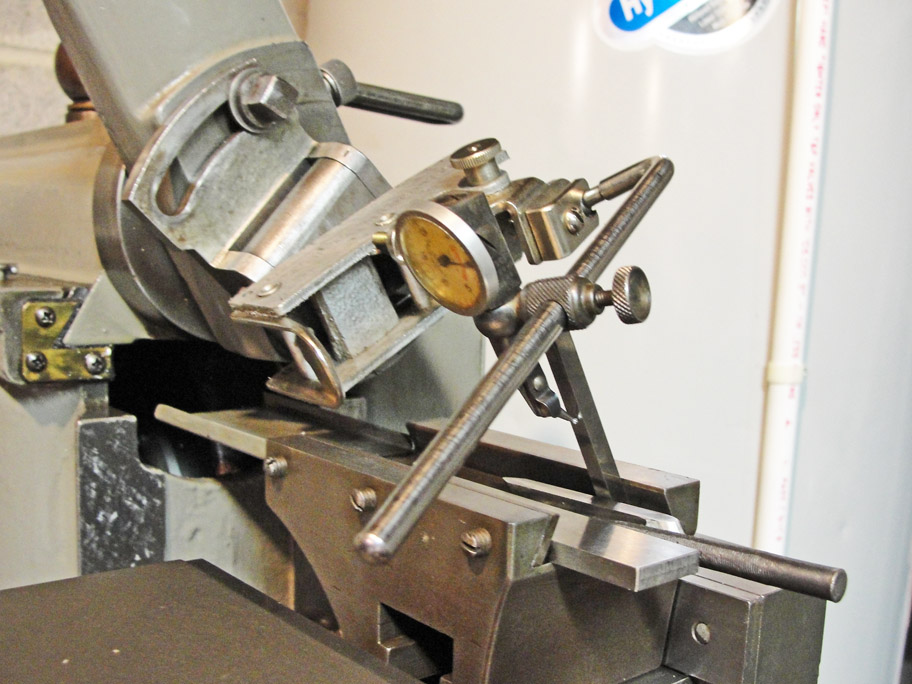
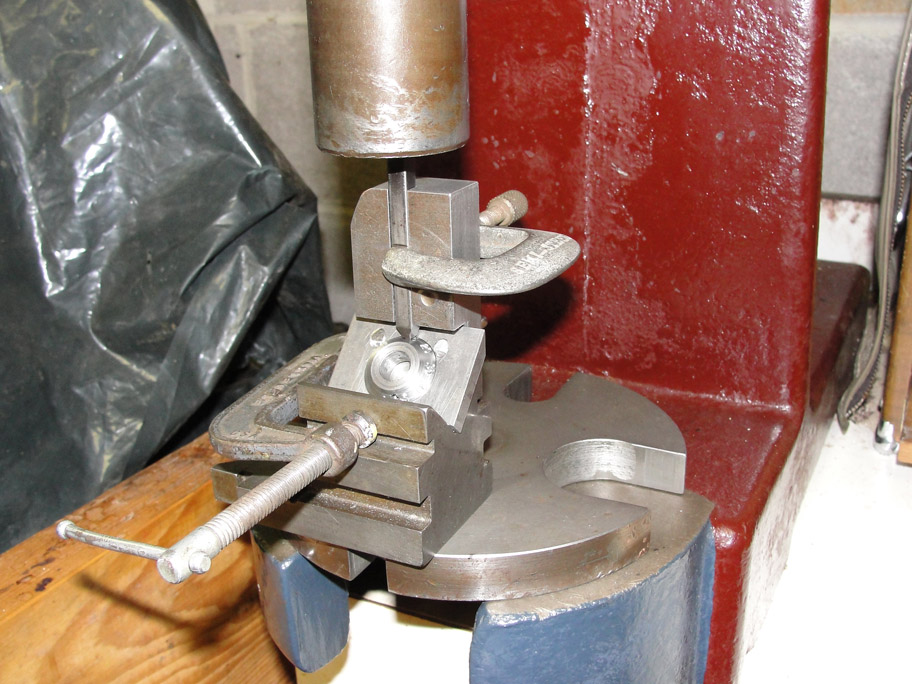
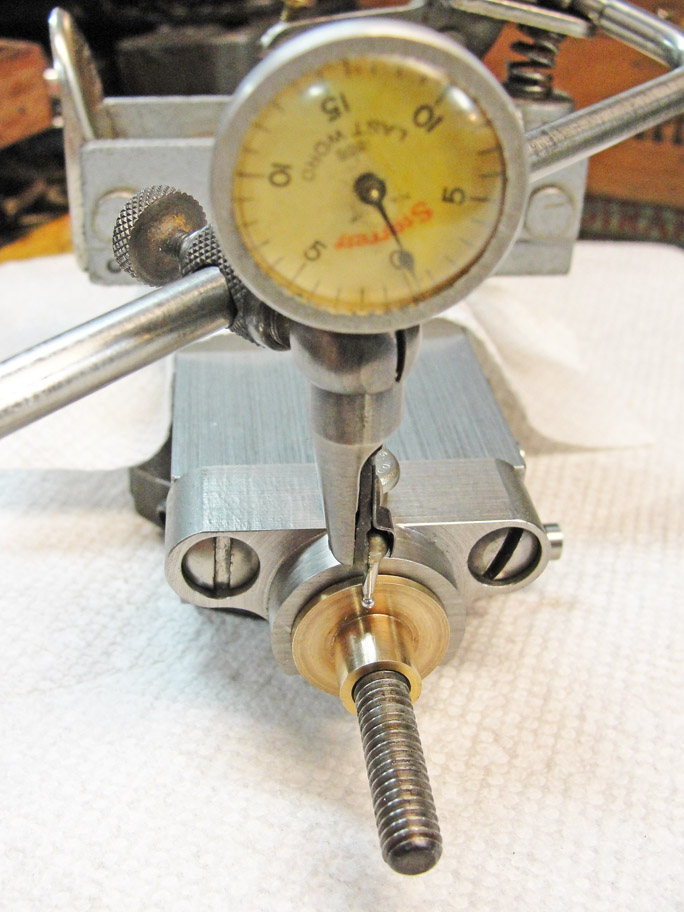
   The bronze bearing, shown here in place in the frame that holds the feed screw, had to have its length adjusted so that the feed would not bind.  The dial indicator let me measure end play accurately.
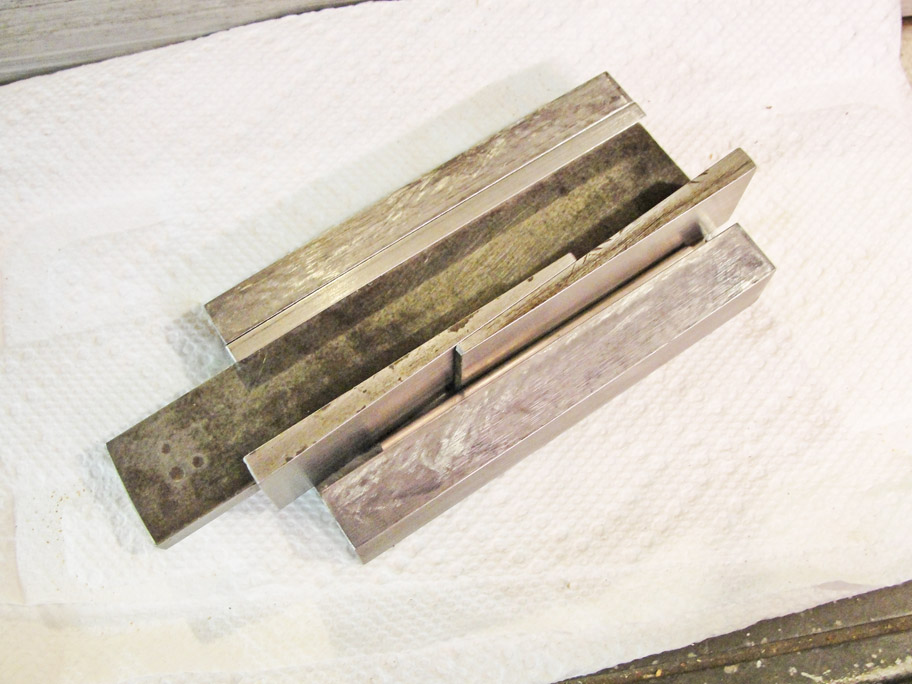
  The bronze bearing (contributed by a broken tensile test specimen from a former employer's scrap bin) is shown below. It simultaneously fits the frame, the feed screw, and the feed dial.
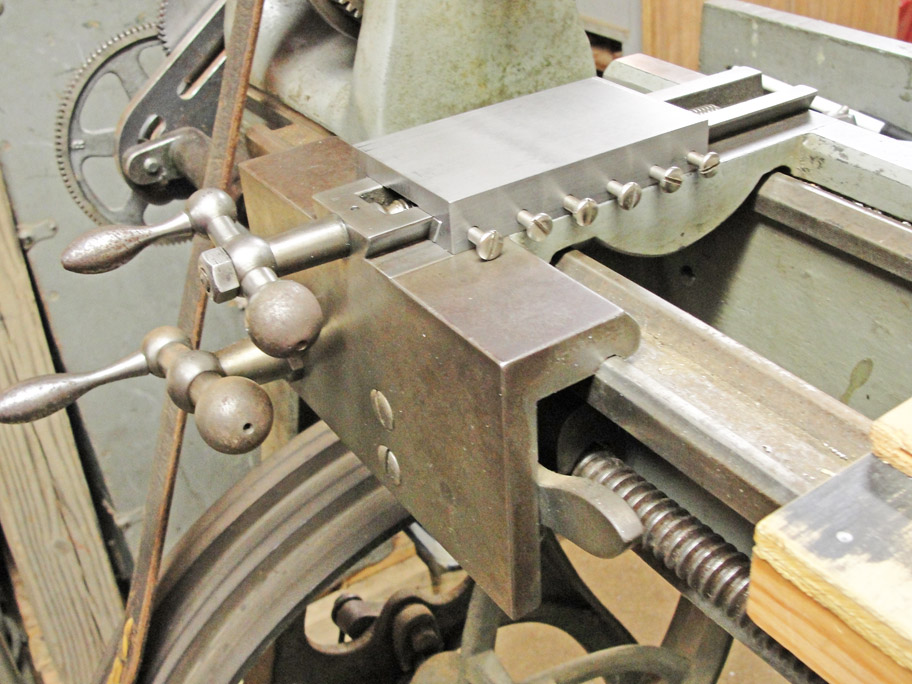
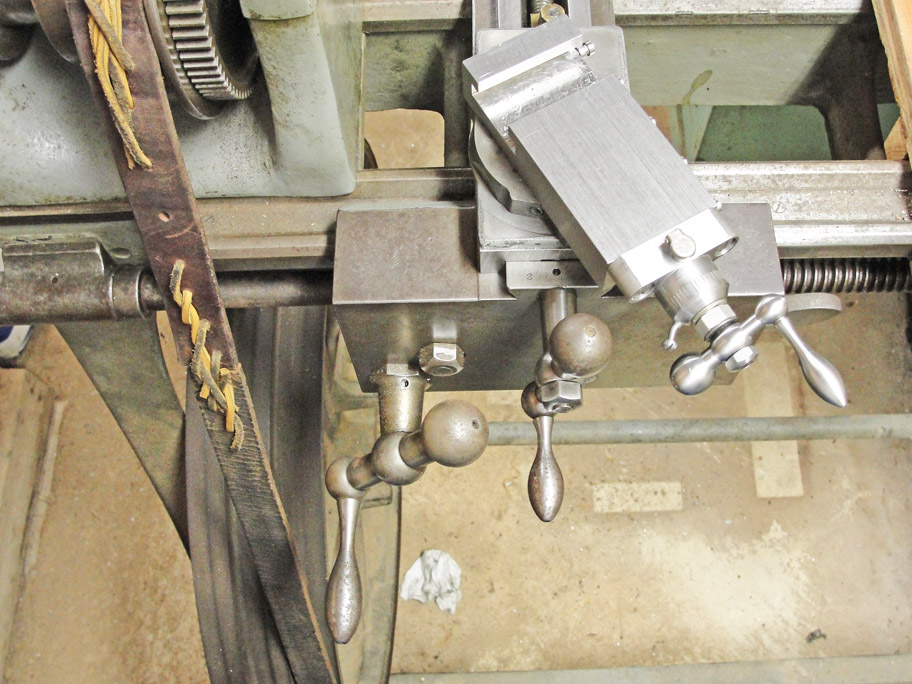
   Nearly everything is in place here on the completed top slide. All that remains is to put numbers on the dial of the 20 tpi feed screw.
Adjusting the end play of the top slide


   The frame that supports the top slide feed screw is shown in completed form here.  The rounded ends were made with a corner rounding cutter in the Atlas milling machine after the counterbored holes for the attaching cap screws were done. Otherwise, things would not be as well aligned as seen here.

Combined bronze bearing for the feed screw as well as for its dial

Nearly complete top slide for the Sebastian treadle lathe

Numbering that top slide feed dial
   The subpress for numbering the top slide's feed dial has a cylindrical recess and a bracket to accommodate the Vee block.
  From the rear, the two taper pins that hold the subpress parts together are more visible.
  The No.2 arbor press greatly facilitated impressing the numbers into the beveled face of the top slide's feed dial.
   The top slide's feed dial can be zeroed to facilitate using it to control the depth of the threads being chased in the lathe, and it can also function to stand in for the crossfeed screw's absent feed dial. The Sebastian lathe never had one of those.
Subpress for numbering the top slide feed dial
Subpress ...
Numbering the top slide feed dial
Completed, numbered top slide feed dial

Finally: a portrait of the fully outfitted, screwcutting Sebastian treadle lathe:
Portrait of the fully outfitted screwcutting Sebastian lathe at georgesbasement.com