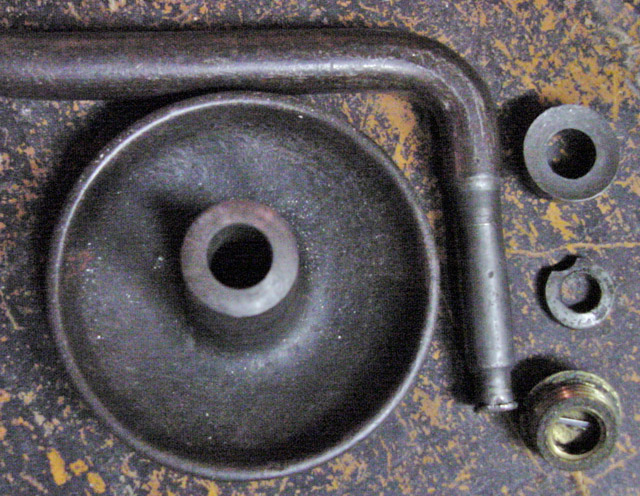
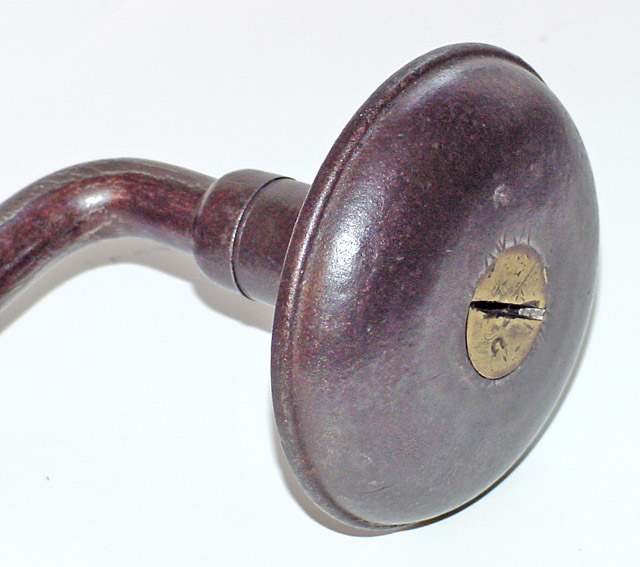
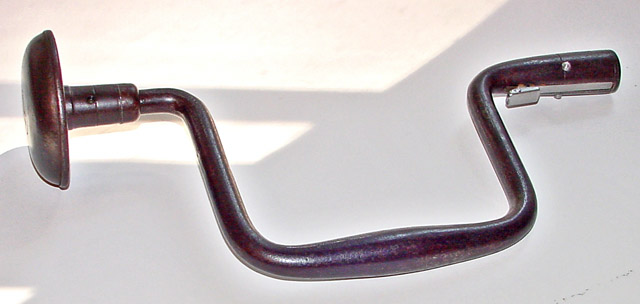
| 5. Taylor-Patent Brace Originally
the pad of this nicely made Taylor-patent brace was extremely
loose. There was both radial and longitudinal play. It had been
held on with the usual arrangement of a washer peened in place on a
reduced-diameter section of the frame. There was no way of
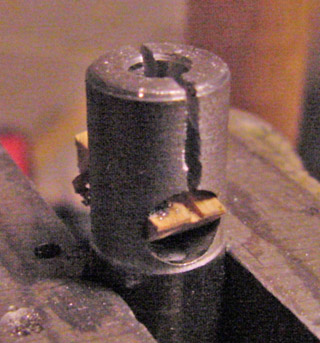
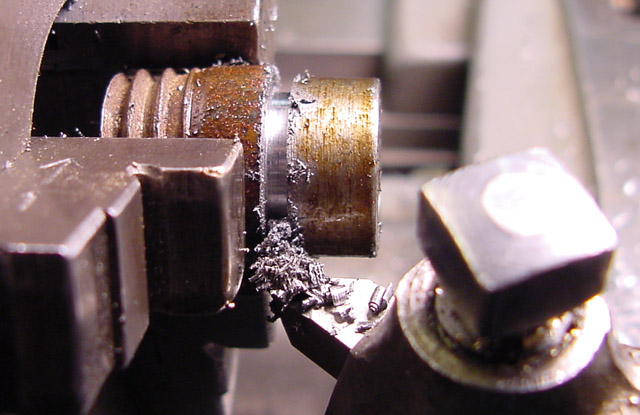
adjusting the end play. I took that arrangement apart, annealed
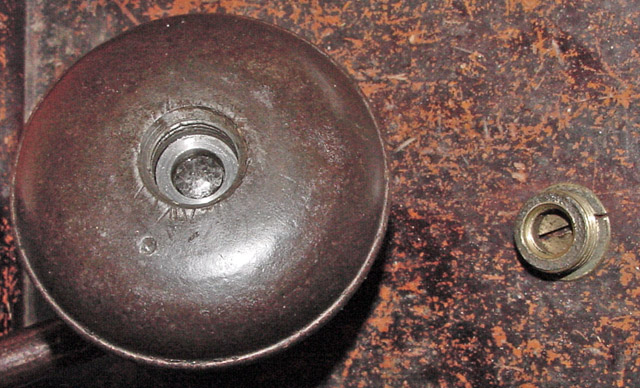
the end of the stem, peened it and adusted its end to accept a split
collar designed like the retainers used on automotive valves. The
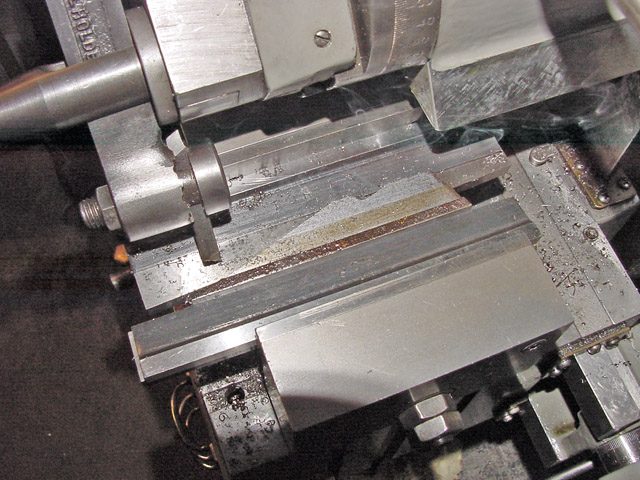
first row of images below describes making the split collar and its
retaining ring. Not shown is the bronze split sleeve
that I slipped over the stem to remove the radial play at the lower
end. I fit another bronze sleeve inside the pad at its upper end.
|
||||||||||||||||||||||||||||||||
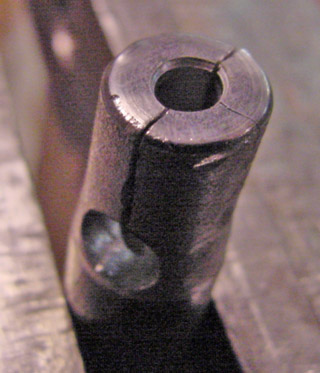
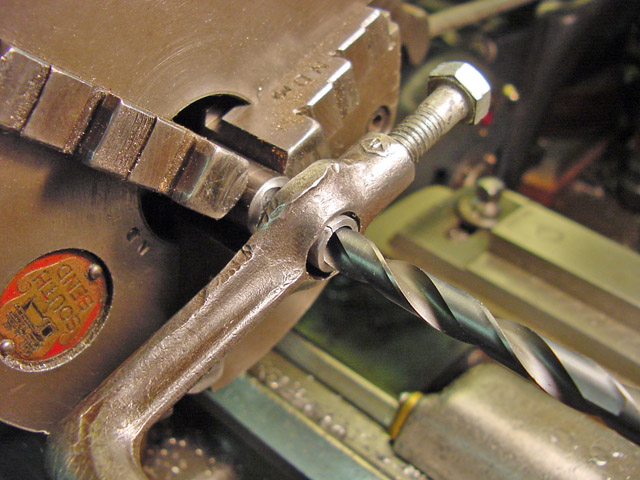
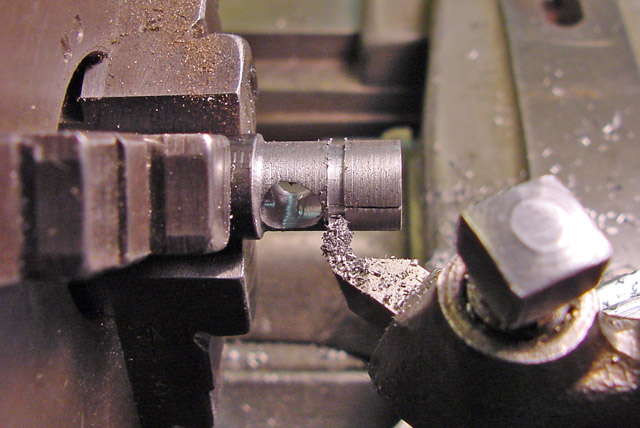
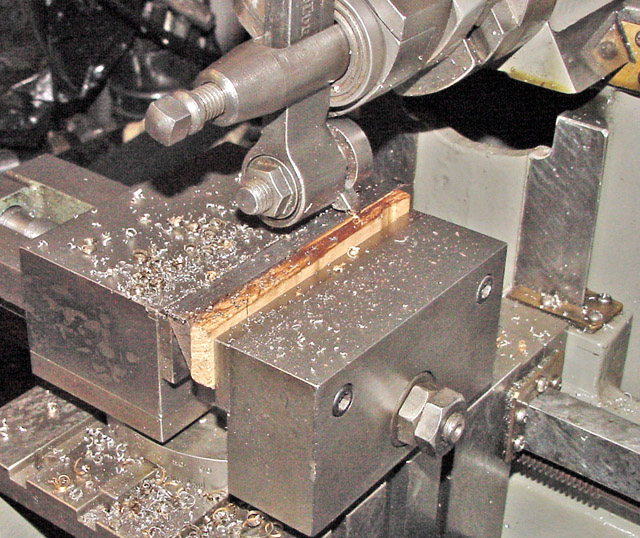
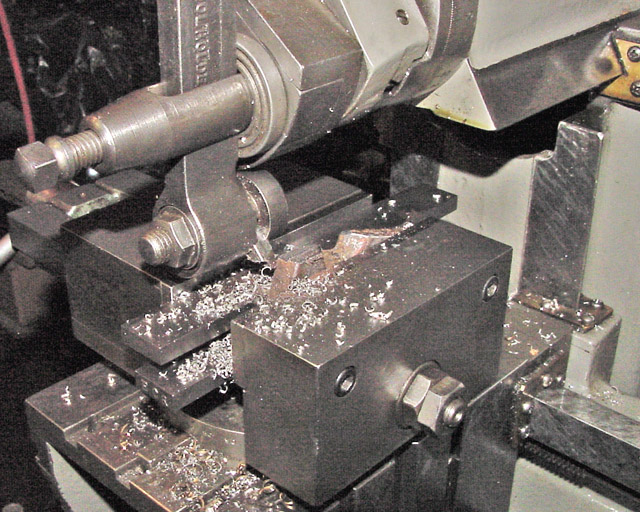
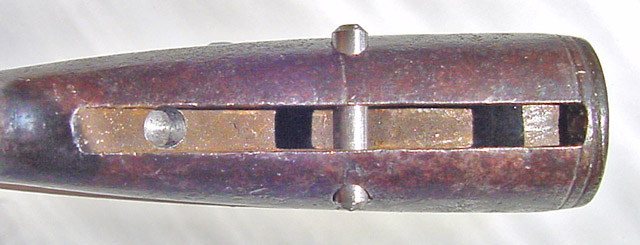
Below, there was no way to
machine the stem of the frame, so I simply annealed the stem, peened
the end to a stronger configuration, and then filed the reduced section
to an approximate cylindrical shape to accept the keys made from the
split collar. Not shown: The process of making the two bronze
sleeves that improved the radial fits.
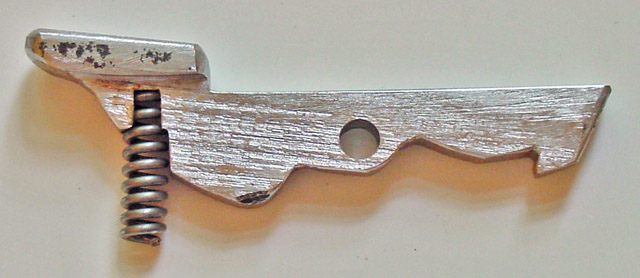
There's more ! The bit latch was utterly missing, probably because its spring had failed ...
While I had originally planned to
case harden the latch with Kasenit, my choice of raw material turned
out to be a very hard piece of plow steel, judging from the recessed
hole for a square-shanked bolt. I made a maximal spring by
choosing thick (0.041 inch) spring wire, which necessitated a small
(ca. 0.10 inch) arbor around which to wind the spring with a Hjorth
spring winder and my Ultra-Rapid geared brace.
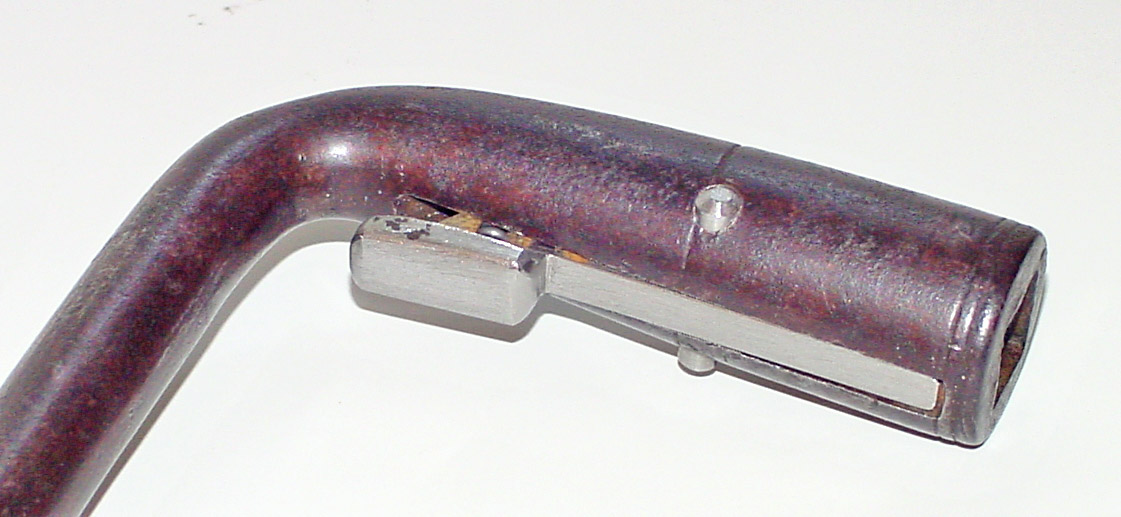
It now takes about all my thumb strength to depress the latch
fully. I drilled a shallow hole inside the recess for the latch
to hold the inner end of the spring, which is fully as long as the
dimensions of the brace allow; the upper end goes up inside the thumb
pad. A taper pin allows the latch to be taken apart for
adjustments.
|